TABLE OF CONTENTS
- Description
- Requirement
- Configuration
- Step 1: Gateway Integration with The Things Stack
- Step 2: Configuration Parameters in The Things Industry
- Step 3: Register an Account of ThingBoard Platform
- Step 4: Configure the Integration settings
- Step 5: Add a demo device to the platform
- Step 6: Add more devices to check the full data link (optional)
- Step 7: Create a demo dashboard
Description
ThingsBoard is an open-source Internet of Things (IoT) platform designed to manage devices, collect and visualize telemetry data, and enable automation.Users can create customizable dashboards to monitor real-time data, analyze historical trends, and set up rule-based alerts or automated actions. ThingsBoard also provides scalable solutions suitable for both small deployments and enterprise-level applications. With support for device provisioning, multi-tenant management, and extensible APIs, it enables developers and businesses to build complex IoT systems efficiently while maintaining flexibility and security.
Next, this article will explain how to connect a gateway and sensors to the ThingsBoard platform via The Things Industries. In this demonstration, the gateway used is the UG65, and the sensor is the AM308, serving as an example for a complete end-to-end workflow.
Note 1:
The AM08 device mentioned here is only for demonstration purposes and does not imply that other types of sensors are not supported. Readers should refer to the steps according to their actual situations.
Note 2:
This demonstration is connected to The Things Industry platform. If you are using The Things Network platform, this tutorial can still be followed, and the steps can be referred to accordingly.
Requirement
Gateway Model: UG65 (UG67 also supported)
Firmware Version: v60.0.0.47 or later
Gateway Model: UG56
Firmware Version: v56.0.0.7 or later
Gateway Model: UG63, SG50 are also supported
Sensor Model: AM308
Frequency Band: US915 (used in this demonstration)
Gateway must already be connected to the Internet
A valid The Things Industries Platform account is required
A valid ThingsBoard Platform account is also required
Configuration
Step 1: Gateway Integration with The Things Stack
- If you are using UG63 or SG50, you can refer here to connect using either Basic Station or Semtech method.
- If you are using UG56, UG65, or UG67, you can referhere to connect using the ZTP method.
Next, I will continue the demonstration using UG65.
The result after the integration is as follows:
- Gateway configuration screenshot and status:

- TheThings Industry platform showing the gateway status, confirming that the gateway is online and reporting data properly.

Step 2: Configuration Parameters in The Things Industry
a) Creating an Application
Follow the instructions as shown in the figures:

Fill in the required information in the pop-up window:
 All the following operations will be carried out under the application tb-demo-app-20250820.
Once created, the application dashboard should appear as shown in the figure:

b) Obtain the MQTT parameters
Follow the steps shown in the figures:

Click the MQTT tab on the left.
On the right, you will see the MQTT server host parameters.
According to your actual requirements, copy the Public TLS Address and Username parameters, then click the “Generate New API Key” button.

Then, click the button at the arrow position. At this point, the Password will be automatically copied to your clipboard.
At this point, we have obtained all the MQTT parameters, summarized in the table below:
Public TLS address | eu1.cloud.thethings.industries:8883 |
Username | tb-demo-app-20250820@milesight-demo-use-only |
Password | NNSXS.AZ6O****** |
This information will be used in the later configuration.
Step 3: Register an Account of ThingBoard Platform
Visit https://thingsboard.cloud/signup and follow the on-screen instructions to create a temporary account (free 30-day trial).

The interface displayed upon first login after registration is as follows:

Step 4: Configure the Integration settings
Following the steps in the screenshot, click Integrations under Integrations center, then click the "+" button in the upper-right corner. 
In the pop-up interface, select the The Things Stack Industries tab
(if your gateway was previously connected to The Things Network, select the The Things Stack Community tab instead):

Check whether Allow Create Devices or Assets is enabled (it is enabled by default), then click the Next button:

Next, locate the Main Decoding Configuration section, and replace the default code inside with the new code I provided :

The new code is as follows:
var data = decodeToJson(payload);

var attributes = {};
attributes.eui = data.end_device_ids.dev_eui;
attributes.spreadingFactor = data.?uplink_message.?settings.?data_rate.?lora.?spreading_factor;
attributes.tenantId = data.?uplink_message.?network_ids.?tenant_id;
attributes.frequency = data.?uplink_message.?settings.?frequency;
attributes.rssi = data.?uplink_message.?rx_metadata[0].?rssi;
attributes.snr = data.?uplink_message.?rx_metadata[0].?snr;
attributes.received_at = data.?uplink_message.?rx_metadata[0].?received_at;

var result = {
    deviceName: data.?end_device_ids.?device_id,
    deviceType: data.?uplink_message.?version_ids.?model_id,
    attributes: attributes,
    telemetry: data.?uplink_message.?decoded_payload,
    groupName: data.?uplink_message.?rx_metadata[0].?gateway_ids.?gateway_id
};

return result;
The result after replacing the code is as follows then click Next button : 
Click the Skip button to proceed :

At this point, you will see the content shown in the screenshot.
Fill in the parameters we obtained earlier, then click the Check Connection button to verify if they are correct :
The screenshot after filling in the parameters is as follows :

If it shows Connected in green, it means the parameters are configured correctly.
Click the Add button to complete this addition :

At this point, our gateway has been successfully connected to the ThingsBoard platform via The Things Industries.
Next, we will add out demo sensor or devices to verify that our configuration is working correctly.
Step 5: Add a demo device to the platform
Return to the The Things Industries interface and follow my steps to add the AM308 demo device :

Since both my gateway and sensor are on the US915 frequency band, the configuration is shown in the figure.
You should fill in their own parameters according to your actual situation.

After filling in the LoRaWAN parameters for the AM308, click the Register End Device button at the bottom to complete the addition :

After waiting for a short while, we will see the real-time data reported by this device :

At this point, return to the ThingsBoard side, go to the Devices page.
As you can see, ThingsBoard has automatically created the device and successfully received the real-time data reported by the sensor :


Step 6: Add more devices to check the full data link (optional)
Next, let’s go back to The Things Industries and add several more test devices to check the data status.
As you can see, I have already added three test devices, and they are now successfully online :
Similarly, when we return to ThingsBoard, we can see that the devices have also been automatically synchronized :

At this point, we have completed the entire integration process.
Next, we will demonstrate a Dashboard example to display the device data.
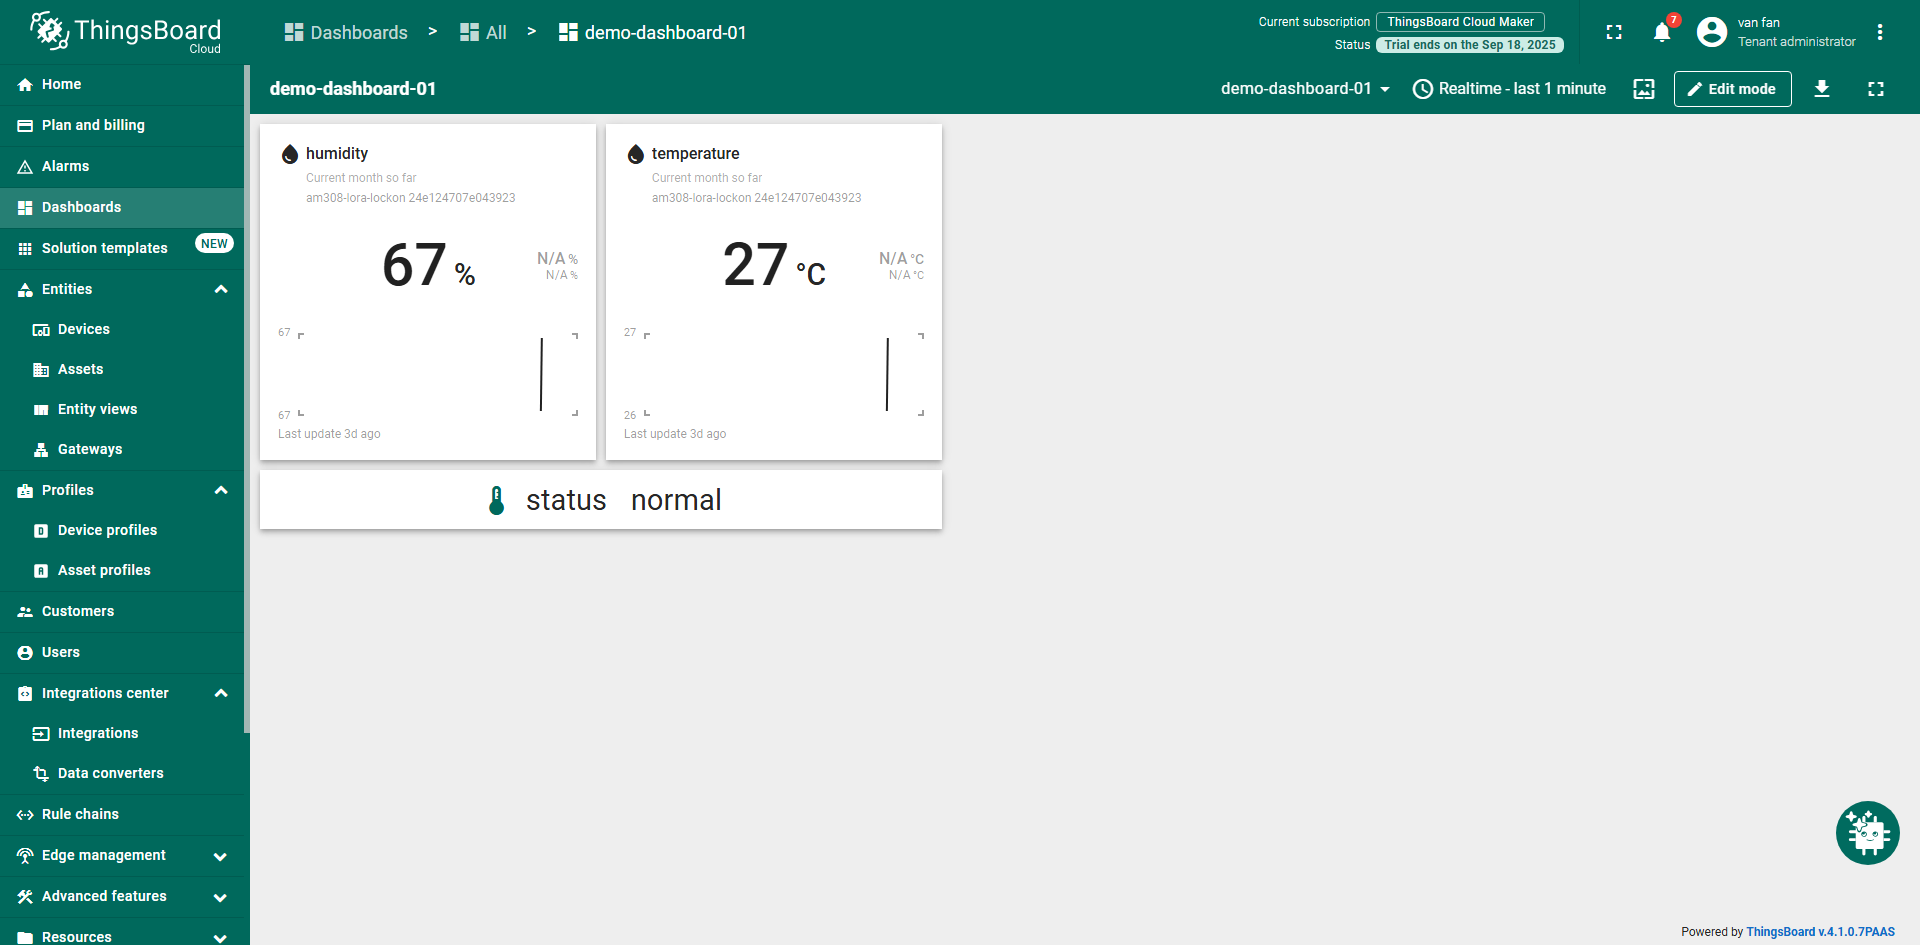
Step 7: Create a demo dashboard
Click Add in dashboard page

input the name and upload the dashboard image if needed.

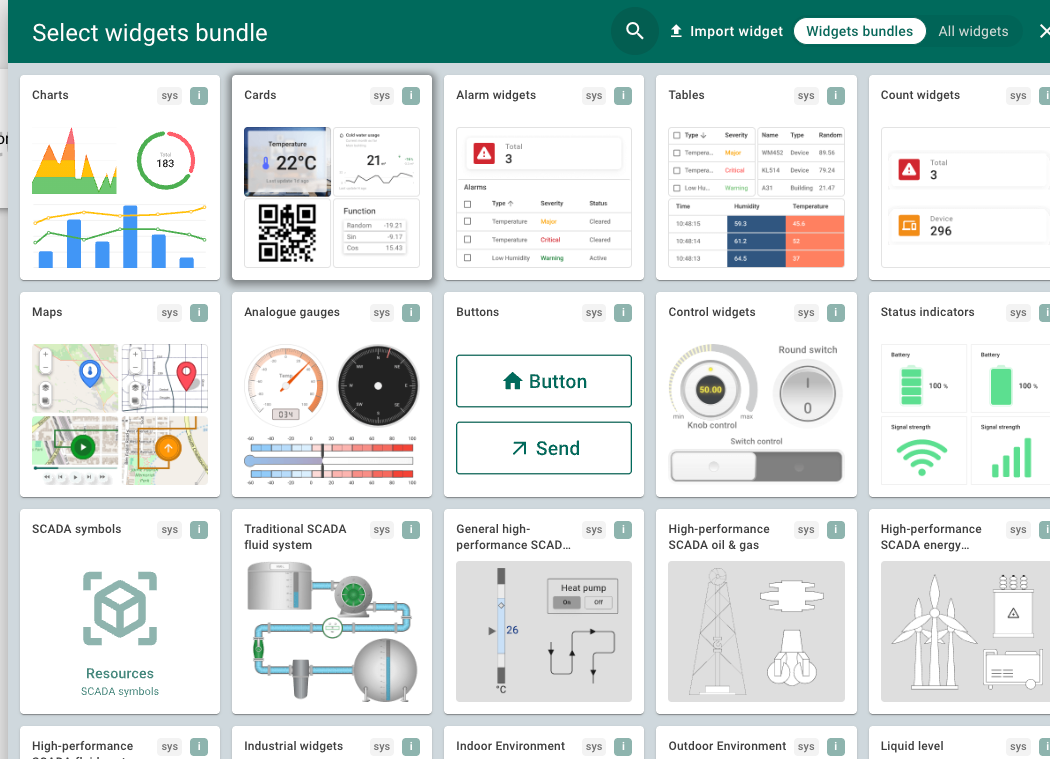
choose the preferred widgets bundle
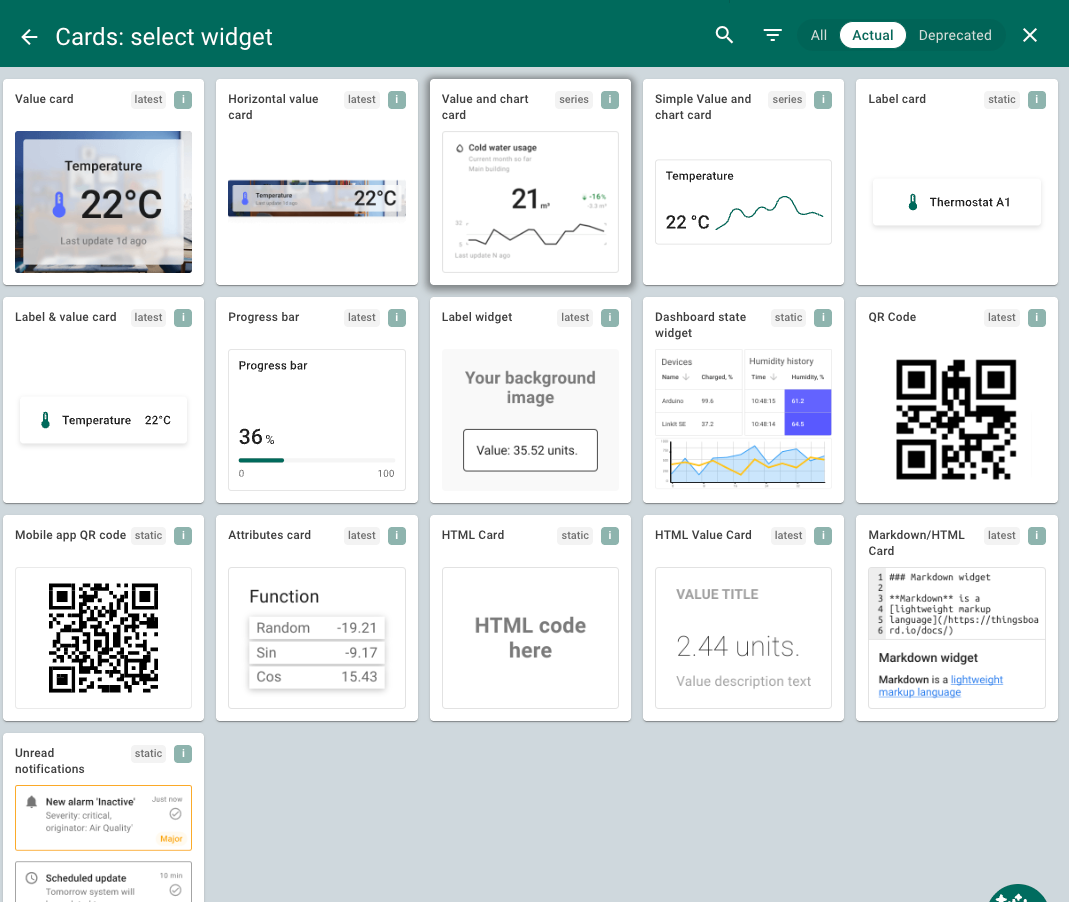
select the exact wiget type you prefer
then choose the data source, which is the sensor devices.

when done, the data will show correctly.
--END--
Was this article helpful?
That’s Great!
Thank you for your feedback
Sorry! We couldn't be helpful
Thank you for your feedback
Feedback sent
We appreciate your effort and will try to fix the article